A quick un-box, out to the shed, sit them in place, stare for a while.
.JPG)
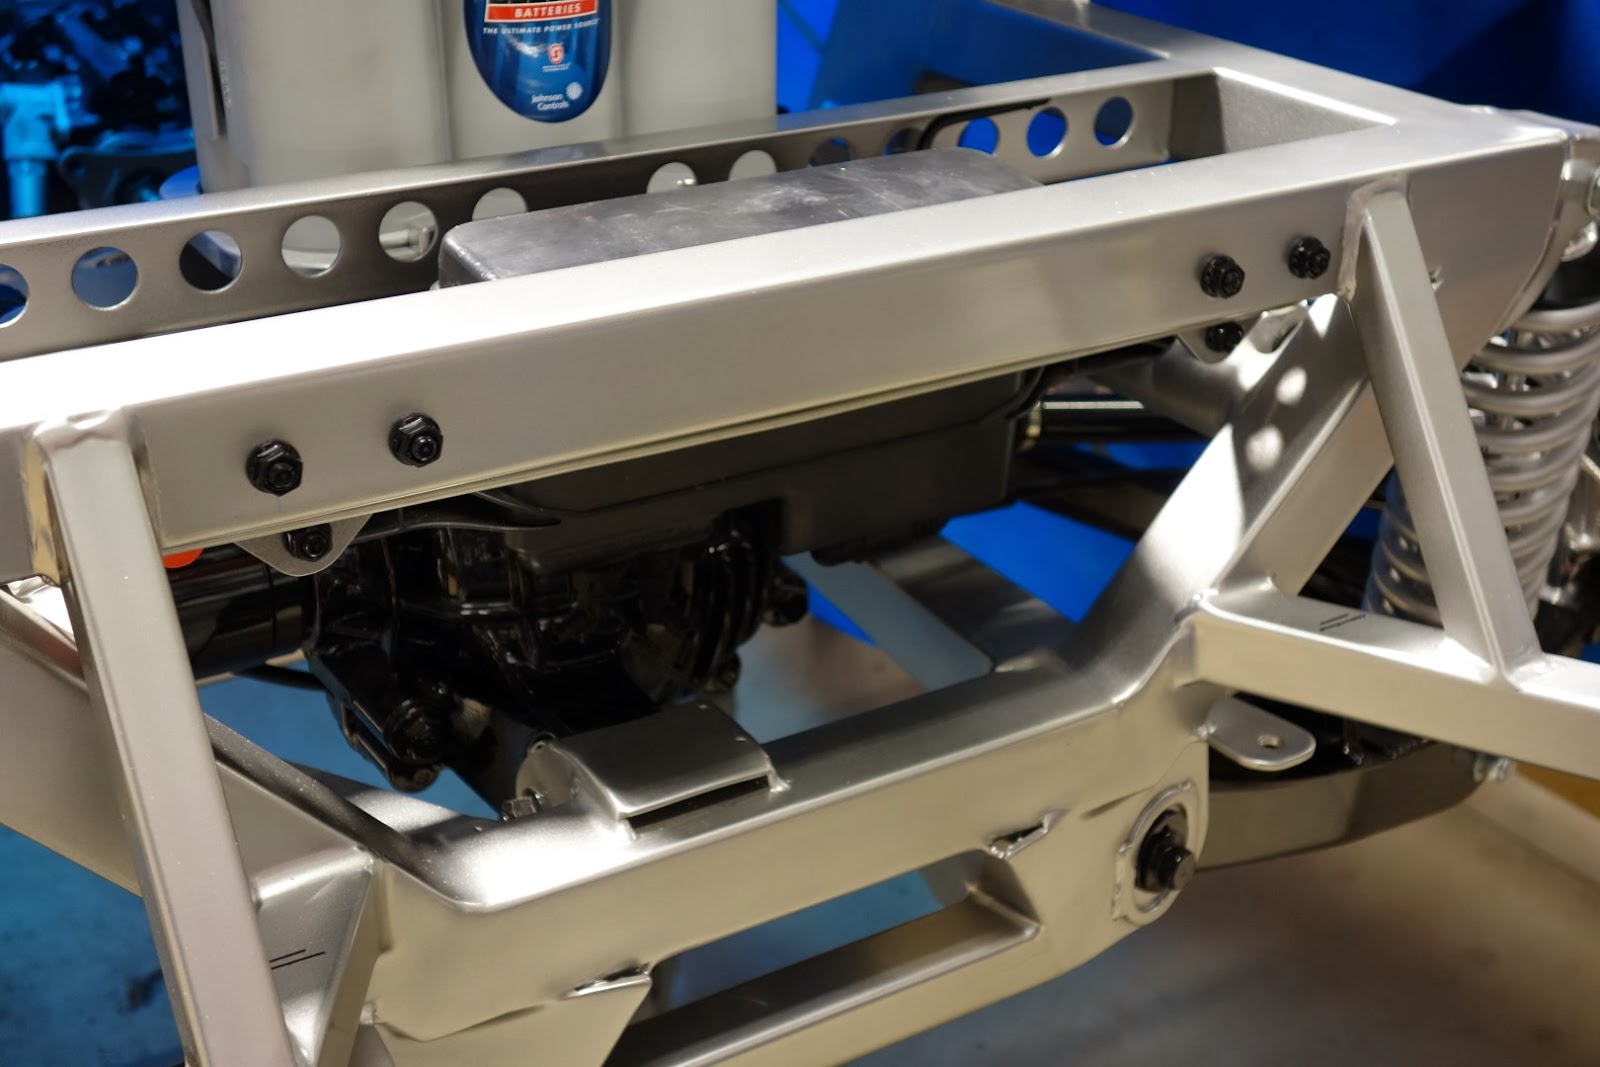
.JPG)
Starting from the Top,
Twin Stelling & Helling 8-1/2" Chrome Air Cleaners.
Twin Holley Billet Throttle Bodies,
Part # 112-577,
1000cfm, 44mm bores, with either 1 to 1 or progressive secondary bores.
Comes with IAS and TPS.
Ports for Evap Solenoid and other vacuum or atmospheric devices.

Under the quads sits a 1" bored spacer,
While they purportedly improve torque, i purchased them to bring the height up enough so that the air-cleaners would be visable through the bonnet scoop and the engine would have an overall height in proportion to the original carby heights of about 3 ", the EFI quads are about 2" in height.
Next step is to design the MAP Sensor Mount, and Evap Solenoid Mount, Evap Solonoid Piping to connect up with canister line.
Machine up adapters for the small LS3 EV6 injectors to fit the space normally occupied by the larger LS2 injectors.
Make a Dual Quad Linkage, and a throttle cable mount.
Make a jig to hold the manifold and a port face plate so I can accurately match the ports between the Cathedral Port Inlet Manifold and the LS3 Heads.
(Mod - See future post for change to LS3 Dual Quad Inlet manifold)
Air cleaner plenum tray to fit between the Quads and the Bonnet.
Put Studs in the Heads instead of inlet manifold bolts, and studs in the manifold carb flange in place of bolting the Quads on.
Have a great Christmas all.
.JPG)
.JPG)


.JPG)
.JPG)


.JPG)


.JPG)


.JPG)


.JPG)


